Freshening up your kitchen can make your home look and feel entirely different. But doing so requires a good bit of planning to avoid mistakes, stay within budget, and make smart design choices. If you’re doing any kitchen remodeling in Maplewood, NJ, planning and preparation are how you shape the outcome.
It’s a huge undertaking, so let’s talk about how to plan and prepare for your kitchen renovation at every step of the way. We’ll go over setting goals, choosing materials, handling permits, and finishing the job. Smart planning helps avoid common kitchen remodeling mistakes in New Jersey that could cost time and money later on.
Why Maplewood Homeowners Are Renovating
Maplewood has many older homes with tons of personality. That personality giving these homes their charm can also make kitchens feel cramped or outdated.
That’s why many homeowners are remodeling their kitchens in Maplewood: to add storage, open up space, and mold their kitchen to their modern lifestyle. Updating kitchens also drives up your home’s value.
Potential buyers love to see modern kitchens. They’ll buy homes with them faster and for higher prices. Many of them look for features like new appliances, smart layouts, and open floor plans.
Some homeowners want better energy efficiency, kid-friendly spaces, or easier entertaining. For families working from home, a functional kitchen makes the whole house feel more organized.
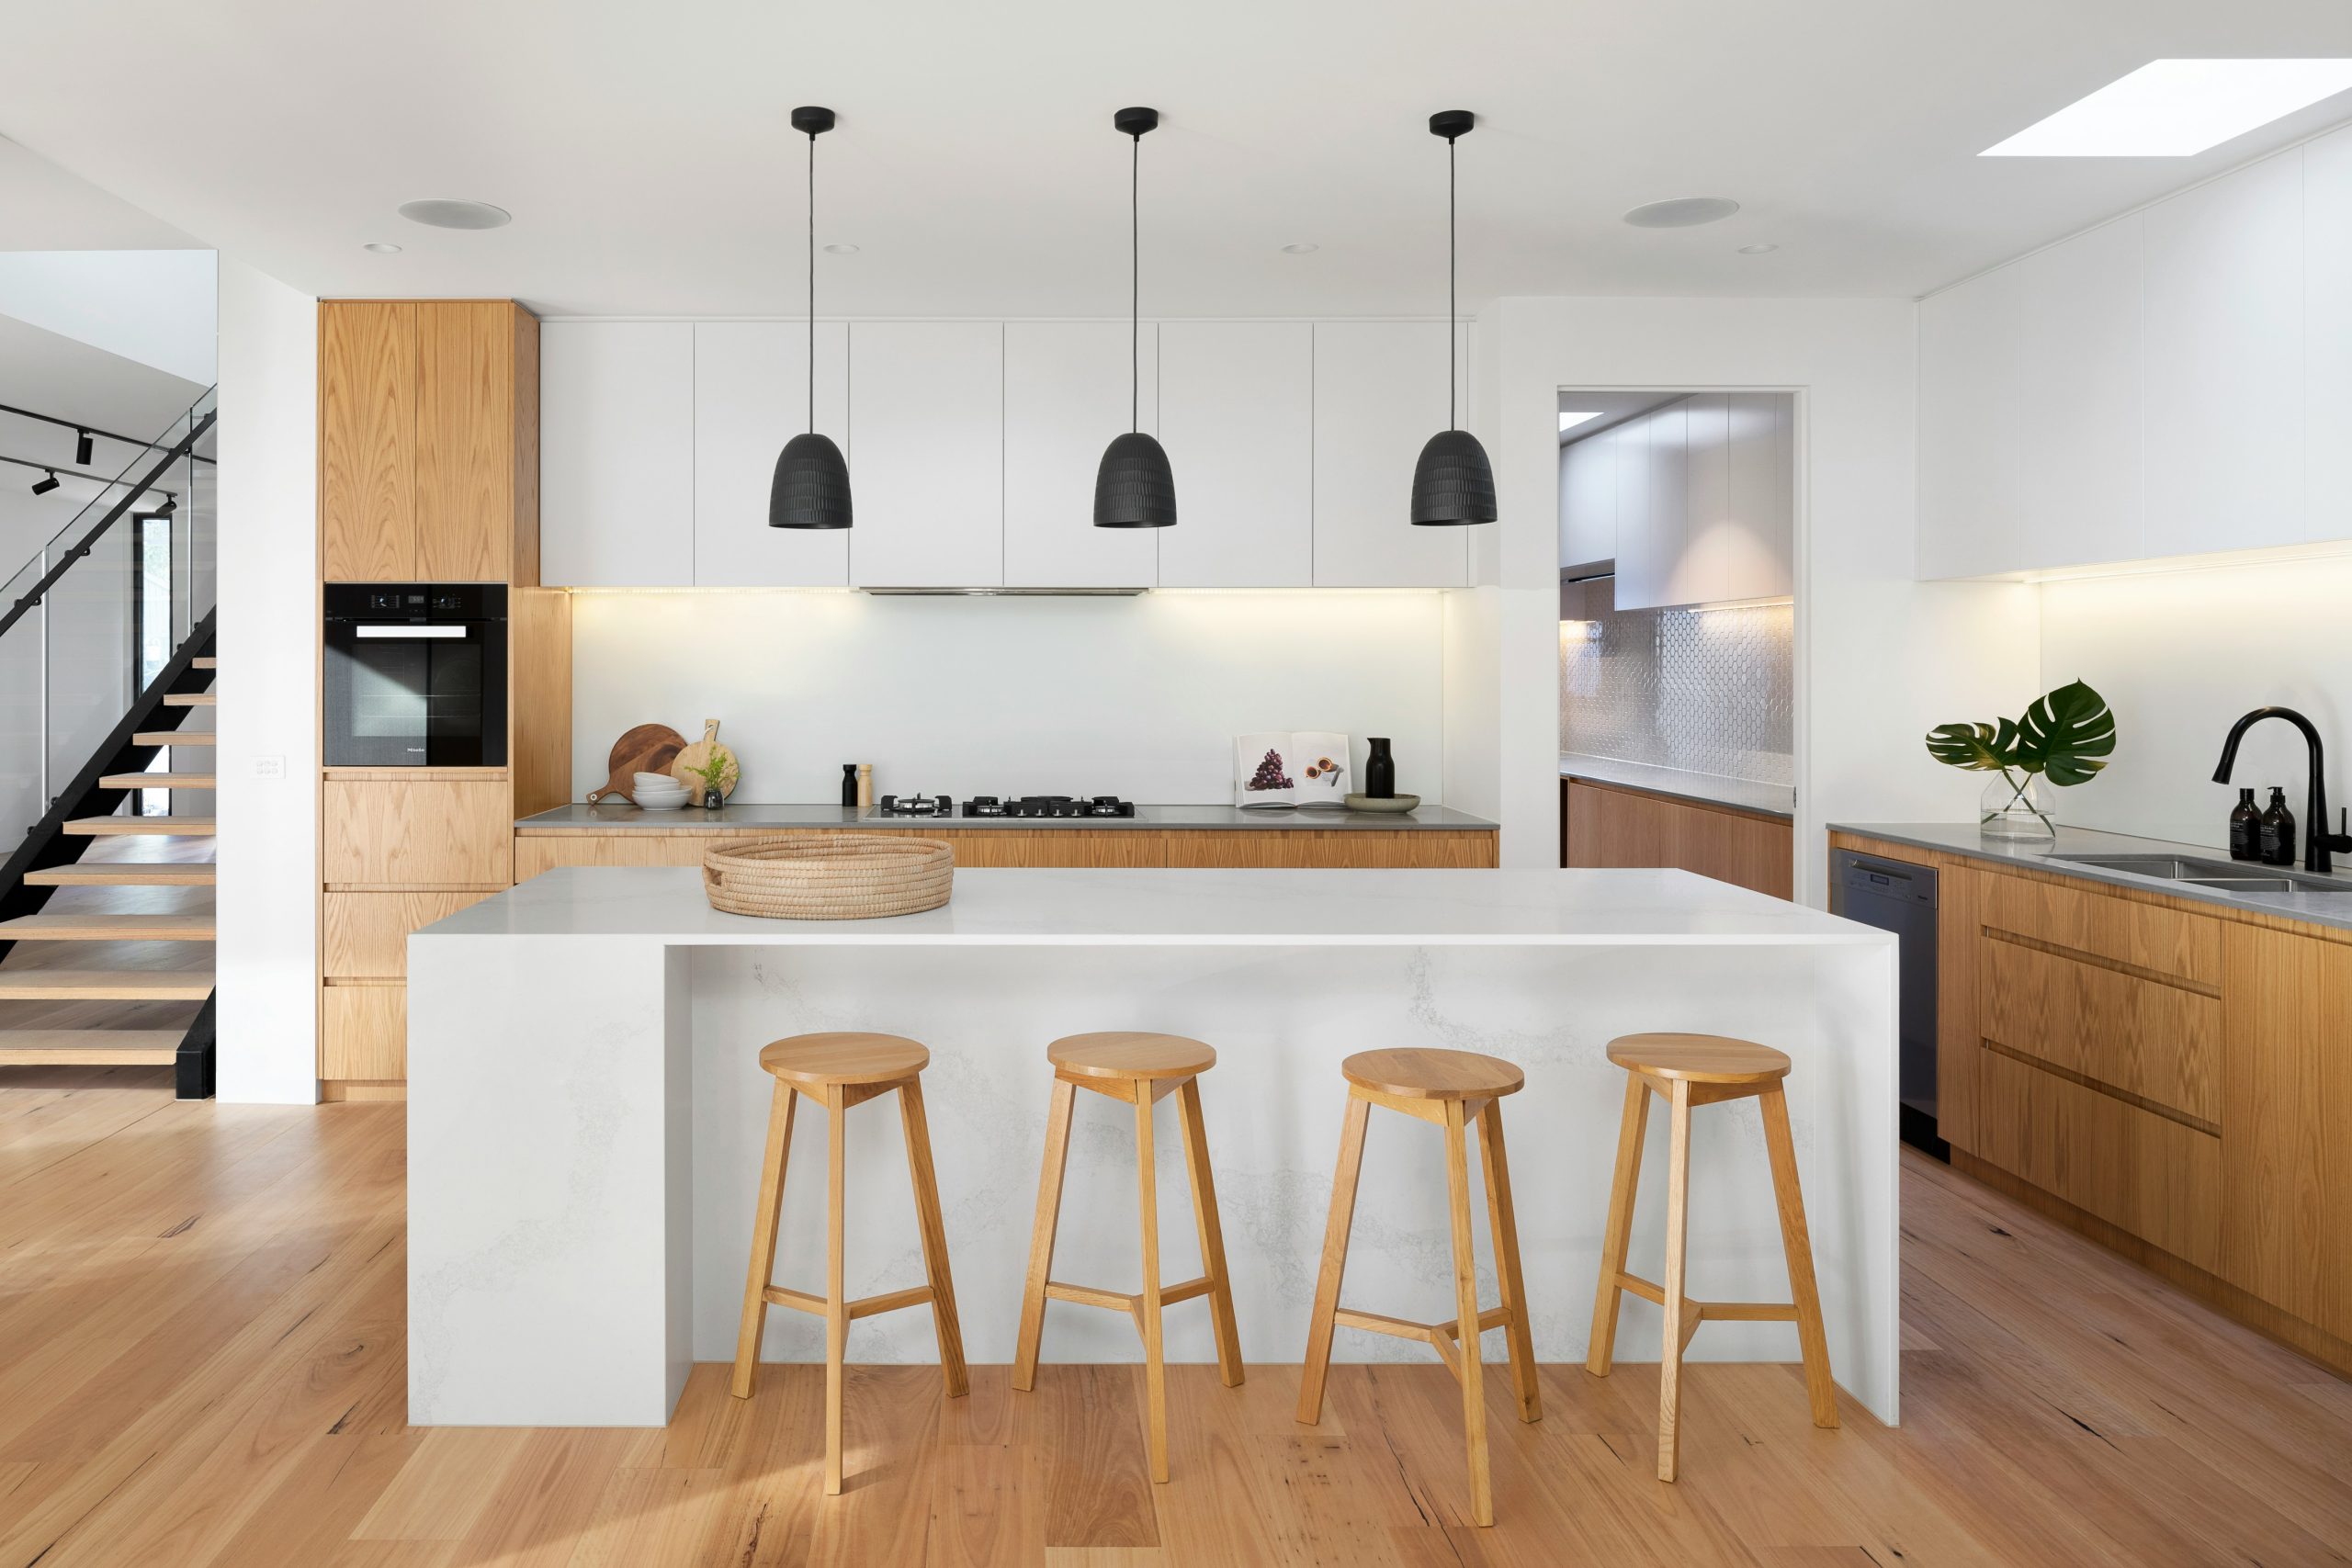
For example, you can transform a dark, closed-off kitchen into an open-concept layout with a large island. Kids can do homework while dinner cooks. It’s brighter, more practical, and changes how you use your home.
Step 1: Set Your Remodeling Goals
Before designing or shopping, figure out what you want from your remodel. Clear goals guide every decision from layout to finishes.
Ask yourself:
- What’s not working in your current kitchen?
- Do you need more storage, better lighting, or improved flow?
- Is your kitchen for cooking, entertaining, or both?
- Do you want modern, cozy, classic, or open?
Does your family eat together in the kitchen? A breakfast nook or island with seating might be up your alley. If you’re more of a home cook, add some extra prep space and think about the appliance placement.
How long do you plan on staying in your home? Are you planning on selling soon? You might want to focus on updates geared toward resale value like durable countertops, energy-efficient appliances, or neutral colors. But if it’s your forever kitchen, make it completely yours and design it for your lifestyle.
Step 2: Choose a Trusted Local Kitchen Contractor
Choosing the right contractor helps you stay on budget, stick to timeline, and avoid surprises.
Look for someone local to Maplewood or Essex County. Choosing a local kitchen contractor matters, especially when dealing with older homes and local building codes
Check before hiring:
- Are they licensed and insured in New Jersey?
- Do they have experience with similar kitchens?
- Can you see a portfolio or photos of past projects?
- Are free consultations available?
- Any happy past clients?
Any kitchen remodeling contractor worth their salt should be happy to explain their process and give rough timelines. They’ll also stay transparent about costs. If they’re not doing these things, that’s a red flag.
Ask to see past projects, read reviews, and go over key questions to ask a kitchen remodeling contractor before making a decision.
Look around your neighborhood and online for some reliable contractors. Many online directories can point you in the right direction, or you could ask your friends and neighbors. Word-of-mouth gives you deeper, more personal insight than anything online possibly could.
If you’re unsure where to begin, here’s a helpful guide for choosing the right kitchen remodeling contractor in Essex County to make your decision easier.
Step 3: Schedule an In-Home Consultation
Once you’ve found a contractor, schedule an in-home consultation. This is where your ideas start to take shape.
The contractor will walk through your kitchen, take measurements, and ask about your goals. You’ll discuss what’s working, what needs changing, and what you want out of your new kitchen.
Bring photos, notes, or Pinterest boards for inspiration. A good contractor listens and works with you to determine the best possible kitchen for your needs.
During the visit:
- Contractor checks structure, layout, and existing systems
- You discuss layout, appliances, and materials
- They explain what’s possible and what needs adjusting
In older Maplewood homes, this consultation is especially helpful. These kitchens often have unique layouts, outdated wiring, or tight spaces.
Step 4: Design and Planning Phase
This is where your ideas start to materialize. Turn your goals into a kitchen that fits your space, style, and budget.
Layout
Think about kitchen flow. The importance of layout in kitchen remodeling can’t be overstated when designing for efficiency and comfort. Most contractors follow the “kitchen triangle” rule by placing the stove, sink, and fridge in a triangle. This makes all three stations easier to access from the others, streamlining the cooking process.
Many Maplewood homeowners also choose open-concept kitchens. Removing walls between kitchen and dining areas makes spaces feel bigger and more connected.
Cabinets and Storage
Smart storage prevents clutter:
- Deep drawers for pots and pans
- Pull-out shelves and spice racks
- Tall pantry cabinets with organizers
- Cabinets to ceiling for extra storage
Custom cabinets cost more but use every inch, which is great for older homes with unusual layouts.
Countertops
Popular materials:
- Quartz – low maintenance, durable
- Granite – strong, natural-looking
- Butcher block – warm, great for prep
Lighting
Lighting changes your kitchen’s mood. Use layered approach:
- Task lighting under cabinets
- Pendant lights over islands
- Recessed ceiling lights
- Natural light from windows
Finishes
Choose backsplash for color/texture, hardware that matches cabinets, and durable flooring. Maplewood’s unique personality comes from the juxtaposition of historic charm and modern updates.
Step 5: Finalizing the Construction Estimate
Your contractor will prepare a detailed estimate pricing everything you’ve planned.
Good estimates are clear, itemized, and include:
- Demolition and debris removal
- Plumbing and electrical updates
- Cabinet and countertop installation
- Flooring, painting, backsplash
- Labor and project management
A kitchen remodel’s budget can balloon out of control hastily. A detailed estimate lets you track where your money is going. If it gets too expensive, talk with your contractor to adjust the materials or scope.
Ask:
- Which parts are flexible?
- What could change costs?
- Are permits and cleanup included?
- What’s the payment schedule?
Reusing the existing layout, keeping some appliances, or choosing mid-range materials can squeeze the most out of your budget.
Step 6: Permits and Prep Work
Before construction begins, handle permits and prep your home.
Do You Need a Permit?
Usually, yes. If you’re moving plumbing, adding electrical, or changing layout, you need a town permit.
Your contractor usually handles this. They know local codes and can submit paperwork, schedule inspections, and ensure approval. This step can’t be skipped, as the permits protect you by ensuring work is safe and up to code.
Prepare Your Home
Once permits are in motion, prep for demolition:
- Clear cabinets and drawers
- Unplug and move small appliances
- Set up temporary kitchen elsewhere
- Protect nearby furniture with drop cloths
- Inform family about schedule
Expect noise, dust, and limited kitchen use for several weeks.
Step 7: Kitchen Construction Timeline
Most kitchen projects follow similar steps:
- Demolition (1–2 days) Remove old cabinets, counters, flooring, and walls if necessary.
- Plumbing and Electrical (3–5 days) Install new pipes and wires for relocated fixtures.
- Flooring (1–3 days) Install tile, hardwood, or luxury vinyl.
- Cabinets (3–5 days) Place and secure cabinets. Islands or custom storage take longer.
- Countertops and Backsplash (2–4 days) Install countertops, then finish with backsplash.
- Painting and Final Touches (2–4 days) Paint walls, add hardware, complete final details.
Most Maplewood kitchen remodels take 4 to 8 weeks depending on scope and size. Here’s a closer look at how long a kitchen remodel takes and what to expect.
Step 8: The Finishing Touches
After weeks of construction, add details that make your kitchen feel complete.
Backsplash and Hardware
Backsplash adds color and texture. Subway tile, mosaic, or herringbone are popular in Maplewood homes. Cabinet hardware makes a big difference. Brushed nickel, matte black, or gold finishes create modern or classic looks.
Lighting and Flooring
Pendant lights over islands add style and function. Choose bright lighting for cooking, softer for entertaining. Pick durable, easy-to-clean flooring that blends with your kitchen’s tone.
Final Walkthrough
Your contractor should walk through the finished kitchen with you. Check that drawers open smoothly, lights work correctly, and there are no gaps or issues.
Make the Most of Your New Kitchen
Now that you have a gorgeous new kitchen, make the most of it. Keep it looking and working its best with routine care.
Keep It Clean: Use gentle cleaners safe for your surfaces. Wipe spills quickly, especially on natural materials.
Stay Organized: Use bins, drawer dividers, and shelf organizers. Group similar items together.
Maintain Appliances: Follow manufacturer cleaning and maintenance tips.
Deep Clean Seasonally: Every few months, give the kitchen a deeper clean. Scrub grout, clean behind appliances and check for wear.
Ready to Start Your Kitchen Remodel?
The best place to begin is with a trusted local kitchen contractor in Maplewood, NJ. A good contractor guides you through each step, from planning to finishing touches.
Start with a consultation. Share ideas, ask questions, and discuss goals. Whether you want a simple update or full makeover, working with someone who knows local homes makes all the difference.


