Painting the inside of a home can do wonders for a living space. It can lighten a room or completely update the look of a house. Essentially, interior painting is one of the least expensive ways to thoroughly change the look and feel of a residence. Nevertheless, doing it properly does entail a bit of planning.
If you’re ready for an overhaul, incorporate these steps into your home interior painting project.
Preparation
Believe it or not, up to three-quarters of the time spent on a residential paint job should go towards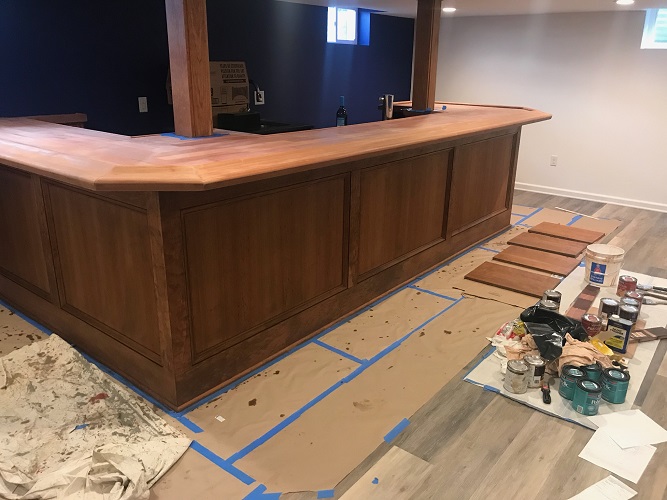 preparation. This includes things like moving the furniture to the center of the room and covering it with clean plastic sheeting. Drop cloths are also needed to protect the floors.
The next step is to prep the surfaces to be painted. At this point, it’s important to tape off areas with sharp lines and begin to fill in any cracks or holes in the walls and ceilings. Stains need to be sealed and rough surfaces should be sanded down as well. This is also the time to remove any doorknobs or switch plates.
Primer
Once preparation is complete, it’s time to coat the walls with primer. With interior wall painting, this step is important because it not only covers up stains and prior colors, but it also provides another layer to which the main coat can adhere.
Painting
Now the surface is ready for the top coat. It’s always good to use top quality paint and opt for rollers instead of brushes. Although using rollers may require more equipment, it will save time in the long run. Try painting in an overlapping “W” pattern to smooth out roller lines and to achieve a consistent finish.
Since areas near trim and corners that are painted only with a brush may look slightly different from the rest of the walls, it helps to finish these areas with a small roller as well. This will make them consistent with the other finished textures.
Also, a second coat for the trim is usually a good idea because the first coat may not hide the original color. In addition, sanding the surface in between coats eliminates the possibility of a grainy texture on the trim. For best results, try sanding down the trim before applying each coat of paint.
Clean Up Time

Begin by thoroughly cleaning and storing your painting equipment. Afterwards, you can start to clean the painting area. Tape can be removed as soon as the paint is dry to the touch. Latex paint, for instance should be dry enough for tape removal in about an hour and safe for another coat in about four hours. Oil-based paint, on the other hand, takes a bit longer. It should be dry to the touch in about eight hours and safe for a second coat in 24 hours.
Since humidity can impact the drying time for interior wall painting, it helps to close the windows and turn on an air conditioner and/or run a fan.
At this point, you should remove any remaining materials such as the protective drop cloths and plastic sheeting before you vacuum the floors and carpets. Then you can move furniture back to their original spaces as long as it steers clear of the fresh paint. Give it about three days before hanging picture frames or shifting furniture directly against the walls.
People often underestimate the impact a fresh coat of paint can make on their home. The beauty of this process is that, if done properly, an interior house painting can completely transform a home with a polished new look that updates the inside without the hassle and costs of a major renovation.
Looking for contractors in your area, please visit our directory of the best local interior painters.