Is the dread of a chimney inspection a blemish on your beautiful Malibu home? The ocean views and mild winters are gorgeous, but the climate does a number on your chimney. Salt, humidity, wind, and wildfire residue all affect masonry and metal over time. Let’s talk about how you can hedge against that by searching for chimney inspection near me in Malibu CA and how to prepare for one.
Quick Answer: What Happens During a Malibu Chimney Inspection
A certified technician examines interior and exterior chimney components for damage, blockages, moisture, and creosote. They check the firebox, smoke chamber, flue liner, damper, crown, cap, flashing, and masonry, often with a camera. Whether you schedule a standard or advanced chimney inspection in Malibu, CA, the goal is to confirm safety, airflow, and structural integrity.
Why Every Malibu Homeowner Needs Regular Chimney Inspections
Coastal air carries salt that corrodes steel caps, dampers, and liners faster than inland locations. Humidity and wind-driven rain immerse into hairline cracks, penetrating mortar and staining interior walls. Regular inspections find these issues before they escalate.
Wildfire smoke and windstorms can deposit debris that chokes draft and increases creosote accumulation. Even gas fireplaces enjoy annual checks on venting and moisture control. In Malibu, experts recommend annual inspections and occasional follow-ups after major events.
Understanding the Three Levels of Chimney Inspection for Your Home
Level 1: What to Expect from a Basic Chimney Inspection
This non-invasive review is for systems with no recent changes and no signs of trouble. The technician inspects accessible portions of the firebox, damper, smoke chamber, and visible flue, plus exterior masonry, crown, and cap. It’s the standard annual check for fireplaces with no known issues.
Level 2: When You Need a More Detailed Malibu Chimney Inspection
Level 2 adds a video scan of the flue and inspection of accessible spaces like attics or crawl spaces. This is usually the follow-up after weather event like a storm or earthquake. They’re also common in property transactions or after major changes to your appliances or fuel. This level reveals liner cracks, hidden rust, improper clearances, and past fire damage.
Level 3: What a Comprehensive Chimney Inspection Involves
Level 3 represents the big guns; they only come out when inspectors suspect severe damage or concealed hazards. It may need components or adjacent finishes removed to see concealed areas. Homeowners usually reach this level after a chimney fire, structural movement, or extensive water intrusion.
Step-by-Step Guide: What Happens During a Chimney Inspection Near You
Before the Visit: How Homeowners Should Prepare for a Chimney Inspection
Allow the system to cool completely for at least 12 hours, and scoop out loose ash into a metal container. Move rugs, décor, and furniture at least six feet from the hearth to give the technician room for tools and drop cloths. Provide access to attics, crawl spaces, electrical outlets, and exterior gates or roof ladders.
Secure pets and plan for children to stay out of the work zone. Gather past inspection reports, repair invoices, appliance manuals, and any permits for modifications. Keep track of any abnormalities you observe; odors after rain, whistling drafts, soot fall and the like.
Pre-Visit Checklist
- Fireplace cool; ash removed into metal container
- Clear paths to hearth, attic, crawl space, and breaker panel
- Furniture and rugs moved; drop cloths ready
- Past reports and manuals available for review
- Pets secured; children kept away from work area
- List of symptoms: smoke spillage, odors, stains, rattles, or drafts
Optional Prep Tips
- Place a canvas runner from entry to hearth to protect floors.
- Remove fragile items from mantels and adjacent shelves.
- Share HOA or gate codes and parking instructions in advance.
During the Inspection: What Technicians Look for in Malibu Homes
Technicians have a protocol for inspecting exterior and interior conditions. Malibu inspections usually emphasize moisture control, corrosion, and draft performance. Expect questions about usage patterns, fuel type, and any past water or smoke issues.
Typical Sequence
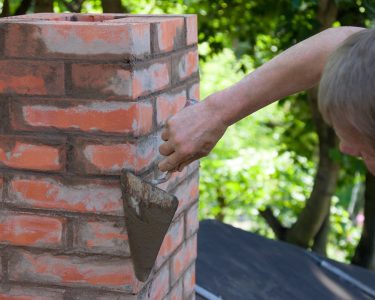
- Exterior Survey — Technician checks the crown, cap, masonry, flashing, and roof transitions for cracking, rust, or gaps.
- Firebox and Damper — Inspector evaluates bricks, panels, and damper movement for wear, corrosion, and seal quality.
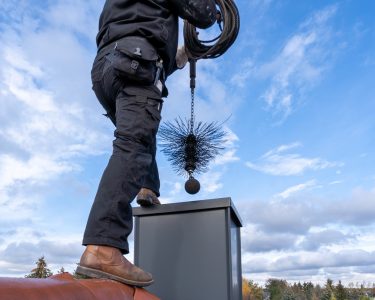
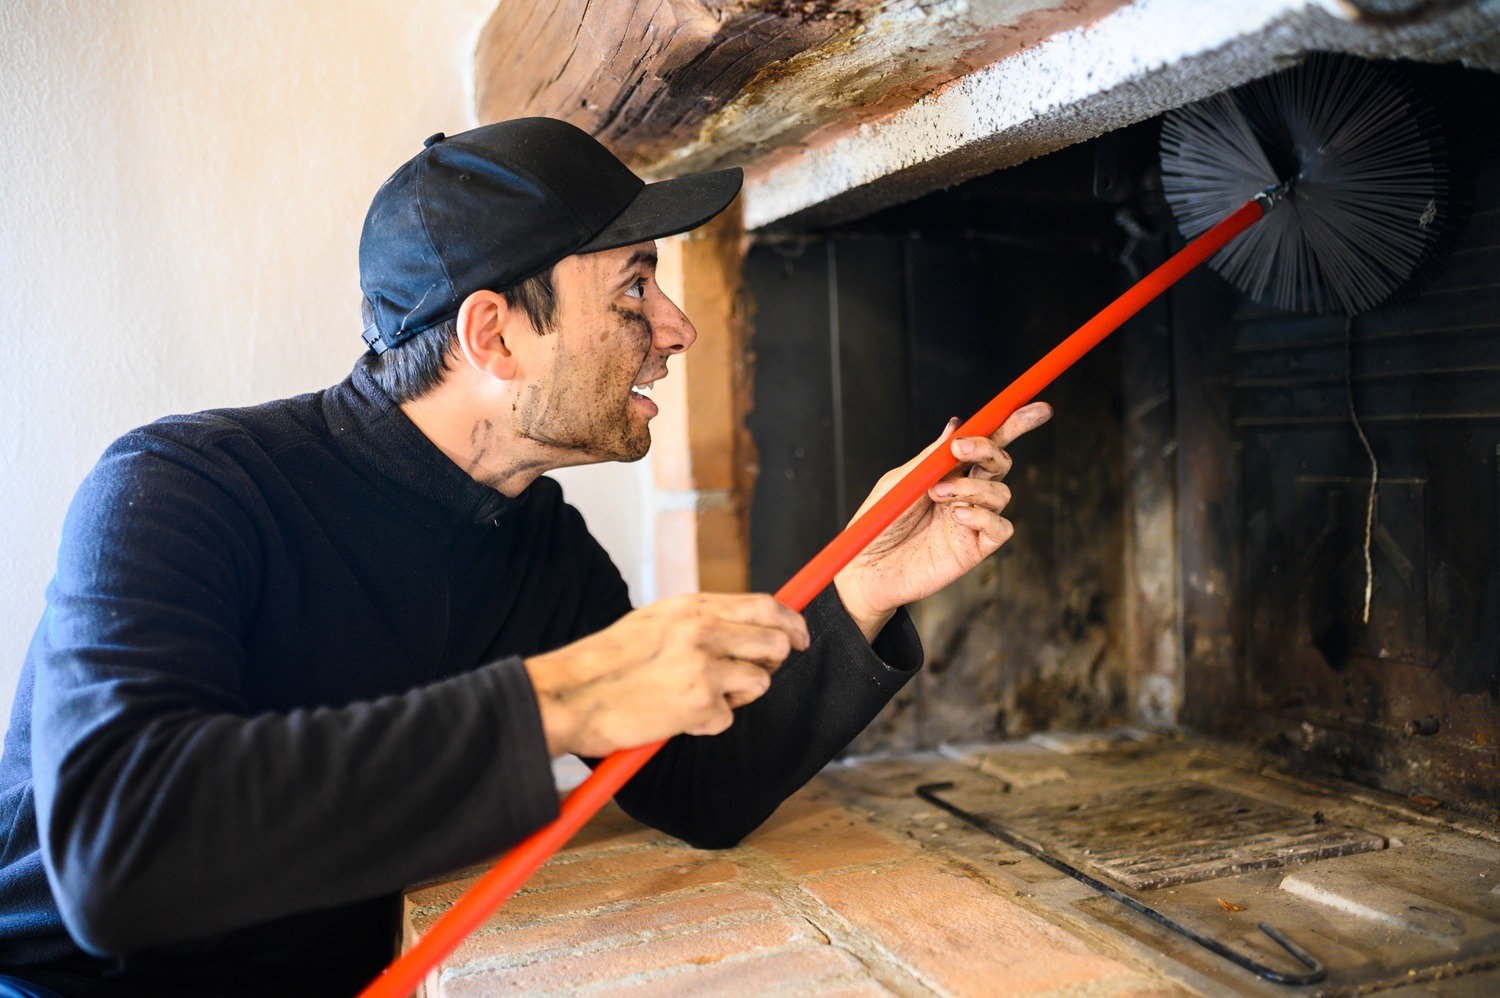
- Smoke Chamber and Flue — Lighted mirrors or a camera scan reveal creosote, offsets, gaps, and liner defects.
- Draft and Airflow — Visual smoke or meter-based checks verify that combustion gases are venting.
- Moisture and Staining — Efflorescence, rust streaks, or damp odors state intrusion paths that need sealing.
- Documentation — Technician compiles photos and notes into a report with prioritized next steps.
| Component | What’s Checked | Why It Matters |
| Crown & Cap | Cracks, rust, loose screens | Blocks water, animals, and debris |
| Flashing | Gaps, failed sealant | Prevents roof leaks at chimney base |
| Firebox | Cracked panels, missing mortar | Stops heat transfer to combustibles |
| Smoke Chamber | Parging, offsets | Smooths draft and reduces turbulence |
| Flue Liner | Creosote, cracks, gaps | Maintains safe venting path |
| Damper | Operation, seal | Controls airflow and heat loss |
After the Inspection: Understanding Your Chimney Report
You should receive a clear written or digital report with photos or short video snippets. Findings are usually grouped by severity so you can address safety items before convenience upgrades. Many reports include simple operating guidance, like not using the fireplace before rectifying specific hazards.
Ask for explanations of root causes when possible, such as salt-air corrosion, wind-driven rain, or seismic movement. Keep the report with home records to spot patterns over time, like recurring moisture at the same joint. If there’s recommended work, request before-and-after photo documentation for your files and see this LA-focused overview of fireplace repair in Los Angeles, CA for broader context.
What a Solid Report Includes
- Level performed and areas accessed
- Photo evidence with labeled locations
- Defect descriptions, likely causes, and risks
- Creosote measurements and moisture indicators
- Prioritized remedies with sequencing and seasonality
- Maintenance cadence tailored to Malibu’s climate
| Item | Issue | Risk Level | Recommended Action | Target Window |
| 1 | Creosote >⅛” mid-flue | High | Clean flue | Before next use |
| 2 | Open mortar joint at crown | Medium | Seal and waterproof | Within 30–45 days |
| 3 | Light damper corrosion | Low | Lubricate and monitor | At annual service |
Common Chimney Problems Found in Malibu, CA Homes
Salt corrosion affects steel caps, screens, and dampers, shortening service life. Wind-driven rain exploits even tiny masonry defects, leading to interior staining or musty odors. Wildlife and debris can obstruct draft during windy seasons when nests or leaves migrate into uncapped stacks.
Creosote accumulation increases with poor draft and unseasoned wood, elevating fire risk. Thermal cycling and mild seismic activity can create liner gaps that trap moisture and smoke. Early detection avoids more invasive repairs and extends chimney lifespan—see 5 signs your Malibu fireplace needs a chimney inspection for homeowner red flags.
How Often Should You Schedule a Chimney Inspection in Malibu, CA?
Annual inspection is the baseline. Animals and weather don’t accommodate our schedules. Spring and fall checks are common in Malibu to bookend the rainy seasons and cooler months. Event-based add-ons are smart after windstorms, earthquakes, or nearby wildfire smoke exposure.
| Appliance Type | Typical Use | Malibu Recommendation |
| Open wood fireplace | Seasonal | Inspect annually; clean as needed |
| Wood stove or insert | Regular winter use | Inspect pre-season and mid-season |
| Gas fireplace or log set | Intermittent | Inspect annually; verify vent safety |
| Direct-vent gas | Intermittent | Inspect annually; check terminations |
| Unused chimney | Rare | Inspect annually for water and nesting |
When to Add an Extra Inspection
- After high winds, heavy rain, or smoke from regional wildfires.
- When draft reverses, odors appear after storms, or soot falls.
- If a small quake occurs and you notice new cracks, rattles, or stains.
Simple Scheduling Plan
- Early Fall: Pre-burn inspection and cleaning if needed.
- Late Spring: Post-season moisture and corrosion check. For seasonal prep beyond the chimney, review how to winterize the exterior of your home.
- Event-Based: Add a visit after storms, smoke events, or tremors.
How Much Does a Chimney Inspection Cost in Malibu?
Homeowners often ask about the cost of chimney inspection Malibu and what affects pricing. Rates vary based on the inspection level, chimney height, and accessibility. On average, Malibu homeowners can expect higher costs than inland areas. Specialized coastal safety standards and equipment needs come into play here.
Basic Level 1 inspections usually start at modest rates. Level 2 or post-fire evaluations may cost more because of video tools and extra labor. Repairs, if required, are always quoted separately after inspection results. Without investing in professional assessment, you’ll experience preventable damage that could take thousands to correct.
Choosing the Right Chimney Inspector Near You in Malibu, CA
Finding the best chimney inspector in Malibu CA involves verifying experience, certifications, and local knowledge. CSIA certification or equal training ensures consistent methods and adherence to safety codes. Malibu’s coastal and seismic conditions need inspectors familiar with moisture management and structural stability.
Verification Steps
- Confirm active certification and proof of insurance.
- Ask for a sample report to judge clarity, photos, and measurements.
- Ensure they use video scanning and draft testing where appropriate.
- Request recent local references for similar chimney types and ages.
Questions to Ask
- Which inspection level fits my situation and why?
- How do you measure creosote and document liner defects?
- What interior protection do you use during camera work?
- How soon will I receive my report and images?
Red Flags
- No written report, or only a one-line receipt.
- Pressure to approve repairs on the spot without documentation.
- “One-price cleans” for all chimneys, regardless of condition.
- Refusal to photograph findings or explain standards used.
| Criterion | Preferred Standard | Why It Matters |
| Certification | CSIA or equivalent | Ensures consistent, safe methods |
| Documentation | Photo-rich report with locations | Provides proof for decisions |
| Tools | Video scan, draft/CO checks | Reveals hidden or venting issues |
| Local Expertise | Coastal and seismic experience | Matches Malibu wear patterns |
| Insurance | Liability + workers’ comp | Protects homeowner and crew |
Searching chimney inspection near me Malibu CA is a starting point. But, base your selection on verifiable methods and reporting quality. Compare sample reports and toolsets rather than price alone.
Key Takeaways for Malibu Homeowners
- Inspections check structure, venting, moisture control, and creosote.
- Malibu’s salt, humidity, wind, and wildfire residue need vigilant maintenance.
- Level 1 suits routine checks; Levels 2–3 address deeper or suspected damage.
- Keep reports with photos to track trends and schedule timely repairs.
- Choose certified, well-documented, locally experienced professionals.
Keeping Your Malibu Chimney Safe Year-Round
A chimney may look sound from the outside while hidden wear develops inside the system. In Malibu’s coastal environment, inspections prevent small moisture or corrosion issues from becoming structural or safety problems. Understanding the process helps you schedule wisely and maintain safe, efficient performance year after year.